Homemade butter is easy, relatively quick to make and amazingly delicious. If it cost less than buying butter at the grocery store, it would be too good to be true, which is why this is not the case. All things considered, though, I still think it’s well worth it.
This stuff is precious, so I think the best use of it is not in baking, but rather, on top of freshly baked, still warm, bread, muffins or crumpets.
Are you ready for this? It’s intense.
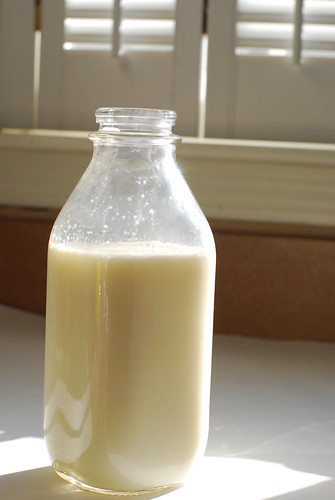
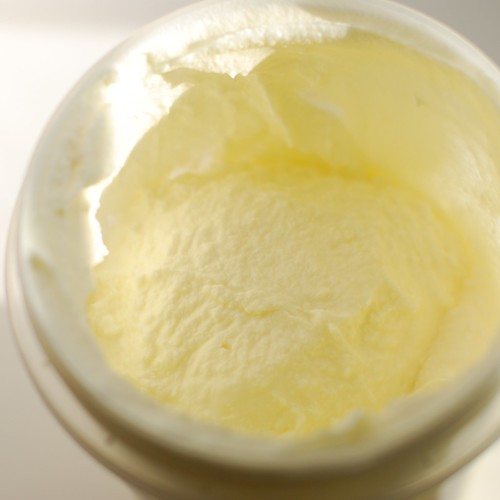
We begin with cream. I used superfresh local stuff, but the carton at the grocery store will do just as well. The important thing is to use cream at room temperature. The difference between doing this with cold cream and room temperature cream is the difference between an hour of churning and ten minutes.
Next, get a container with a tight-fitting screw-on lid that will not spurt cream all over your kitchen when you shake it vigorously. It also needs to hold at least twice the volume of the amount of cream you’re using.

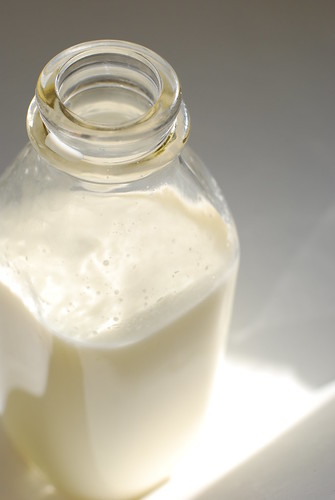
Begin shaking the container up and down in a rhythmic pattern. After 3 minutes, it’ll start feeling less like you’re shaking a jar of liquid and more like you’re shaking a jar of whipped cream, because essentially, you are.
The next 3 minutes will feel like you’re shaking a brick. This is the hardest part. You will wonder “is this doing anything?” Just keep at it.
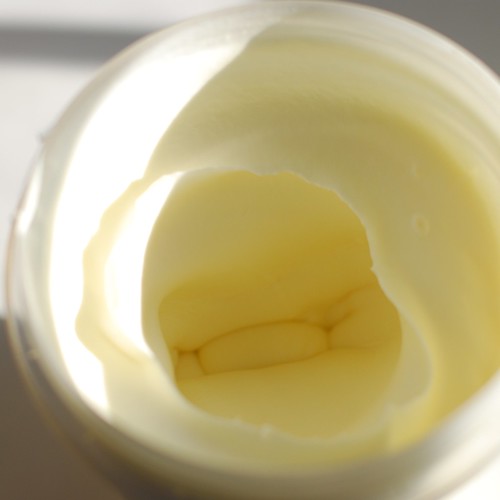
All of a sudden, within just a few shakes, the jar will begin going “shuk shuk shuk” and you’ll be able to feel the butter separating from the buttermilk. Keep doing that for about four minutes until you have lots of buttermilk in there.
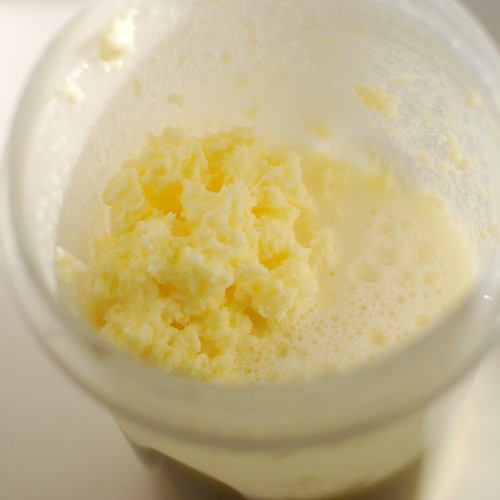
Next (not pictured), cover the top of the jar with cheesecloth and pour off the buttermilk, which can be used for a great many delicious items, but most notably, all the best pancake recipes call for buttermilk. It’s a truth.
After that, let the faucet water get as cold as it gets, then fill the jar to just under the top of the butter. The water needs to be very cold, or else the butter will melt as you replace the cheesecloth and pour the water out into the sink. Repeat 7-10 times until the water drains completely clear. This cleans the butter and keeps it from going rancid as quickly as it will otherwise.
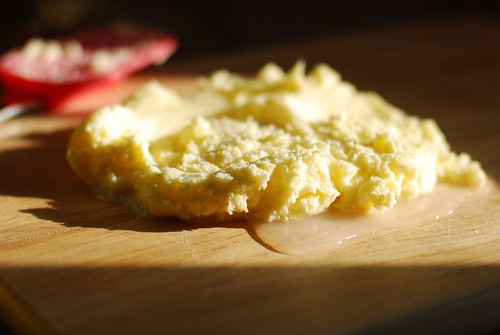
Also important is to drain the butter. I have pictures of this part.
All that water puddling under the butter needs to come out. The best way is with a marble cutting board, but since I don’t have one of those, I used a wooden one. Simply squeeze the water out of the butter with a wooden spoon or spatula. The latter will double as a scraper to regroup between squeezings. To do away with the drained water, tilt the cutting board and/or use paper towels to absorb it.
If you feel like the butter is getting melty at all, just stick it in the fridge for a few minutes before going back at it.
If you want to salt your butter, add about 1/4 tsp salt and stir into your finished butter. I think the reason to do this last is that it doesn’t interfere with the draining process by absorbing water and embedding it in the butter.
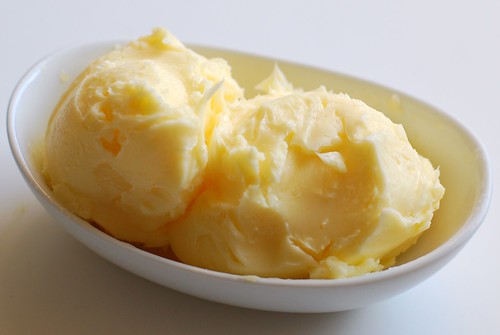
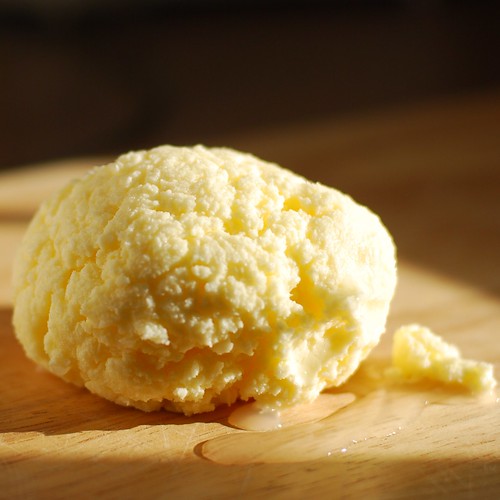
And that’s it! Beautiful, beautiful butter.
Notes
I used one pint of cream to make just under 6.5 oz of butter and almost a cup of buttermilk. These amounts will vary from batch to batch, but is a decent estimate.


